|
|
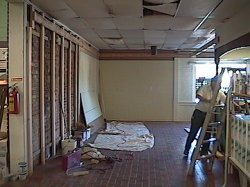
Step 1: Remove the old wall coverings.
|
|
|
|
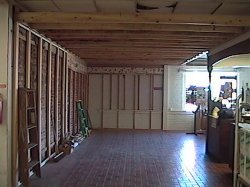
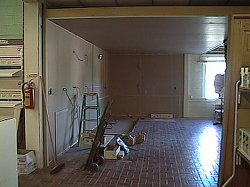
Step 2: Frame up the new ceiling.
|
|
|
|
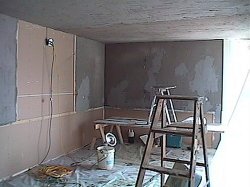
Step 3: Put sheetrock up for plastering.
|
|
|
|
Step 4: Plaster.
|
|
|
|
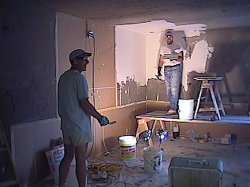
Step 5: Plaster!
|
|

|
|
Step 6: and more Plaster!.
|
|
|
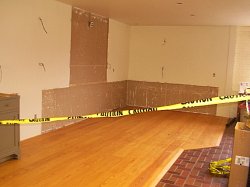
Step 7: Install the Hardwood Floor.
(Looks good Tom!)
|
|
|
|
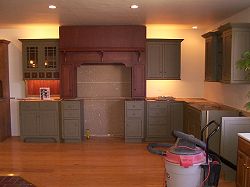
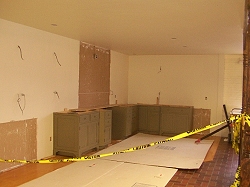
Step 8: Install the Base Cabinets.
|
|
|
|
Step 9: Install Wall Cabinets, Ceiling Lights and Undercabinet Lighting.
|
|
|
|
|
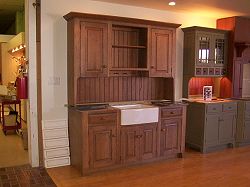
There's Actually Two Displays Going in. This is a Shot of the Second One.
|
|
|
|
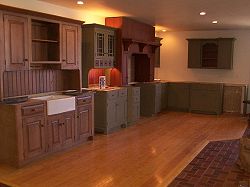
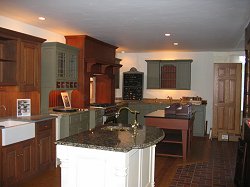
The Finished Product!
|
|